https://www.kirupa.com/react/
History
Old way for Multi-Page Design
Now, new way for Single-Page Design (SPD mode)
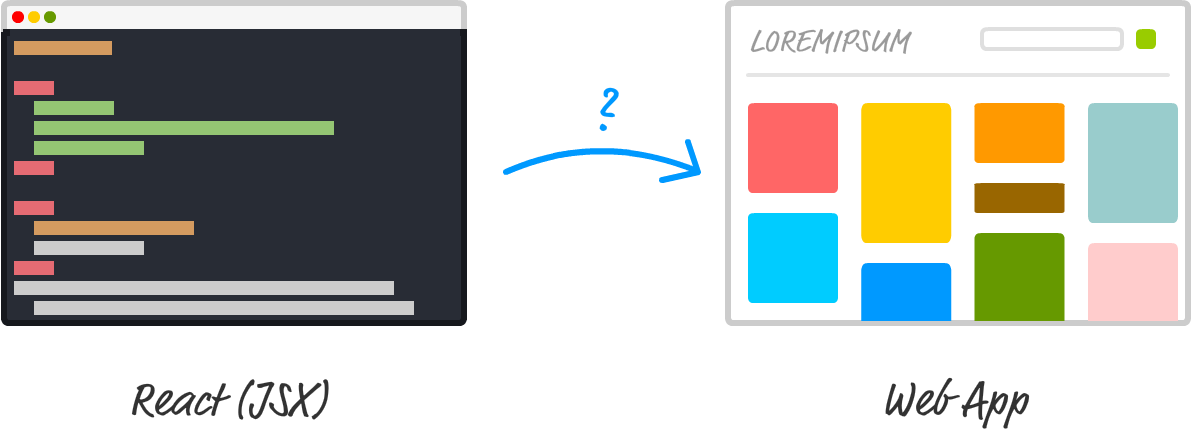
Meet React
Automatic UI State Management
Lightning-fast DOM Manipulation
APIs to Create Truly Composable UIs
Visuals Defined Entirely in JavaScript
Step 1 Basic framework:
<!DOCTYPE html > <html > <head > <meta charset ="utf-8" > <title > react react</title > </head > <body > </body > </html >
Step 2 Add script:
<script src ="https://unpkg.com/react@16/umd/react.development.js" > </script > <script src ="https://unpkg.com/react-dom@16/umd/react-dom.development.js" > </script > <script src ="https://unpkg.com/babel-standalone@6.15.0/babel.min.js" > </script >
Step 3 Add core content int body element:
<body> <div id ="container" > </div > <script type ="text/babel" > ReactDOM.render( <h1 > hello react</h1 > document .getElementById("container" ) ); </script > </body>
Step 4 Add CSS style:
<head> ... <style> #container { padding : 50px ; background-color : #eee ; } #container h1 { font-size : 60px ; font-family : sans-serif; color : #0080a8 ; } </style> </head>
Common Component class HelloWorld extends React .Component render ( return <p > Hello, componentized world!</p > } } ReactDOM.render( <div > <HelloWorld /> <HelloWorld /> <HelloWorld /> </div > , document .querySelector("#container" ) );
Specifying Properties class HelloWorld extends React .Component render ( return <p > Hello, {this.props.greetTarget}!</p > } } ReactDOM.render( <div > <HelloWorld greetTarget ="Batman" /> <HelloWorld greetTarget ="Iron Man" /> <HelloWorld greetTarget ="Nicolas Cage" /> <HelloWorld greetTarget ="Mega Man" /> <HelloWorld greetTarget ="Bono" /> <HelloWorld greetTarget ="Catwoman" /> </div > , document .querySelector("#container" ) );
Dealing with Children class Buttonify extends React .Component render ( return ( <div > <button type ={this.props.behavior} > {this.props.children}</button > </div > ); } } ReactDOM.render( <div > <Buttonify behavior ="submit" > SEND DATA</Buttonify > </div > , document .querySelector("#container" ) );
Just Style It Already! class Letter extends React .Component render ( return ( <div className ="letter" > {this.props.children} </div > ); } }
.letter { padding : 10px ; margin : 10px ; background-color : #ffde00 ; color : #333 ; display : inline-block; font-family : monospace; font-size : 32px ; text-align : center; }
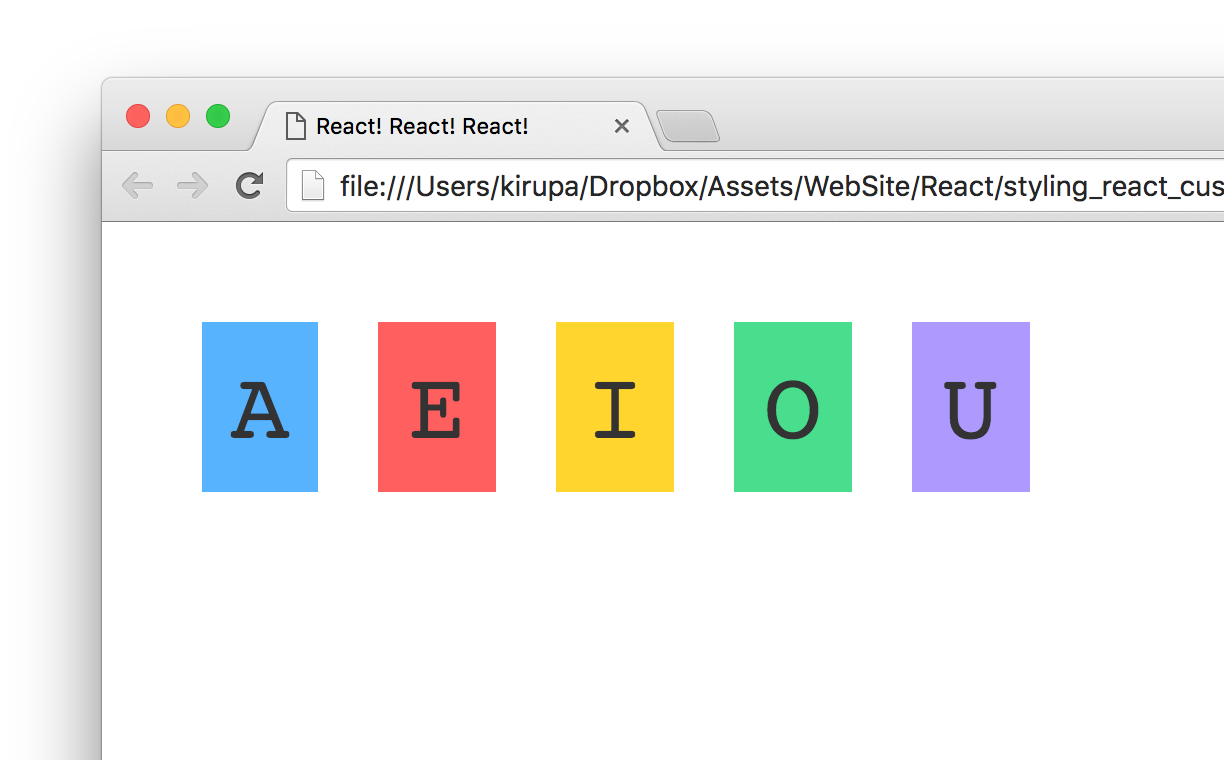
Styling Content the React Way class Letter extends React .Component render ( var letterStyle = { padding : 10 , margin : 10 , backgroundColor : "#ffde00" , color : "#333" , display : "inline-block" , fontFamily : "monospace" , fontSize : 32 , textAlign : "center" }; return ( <div style ={letterStyle} > {this.props.children} </div > ); } } ReactDOM.render( <div > <Letter bgcolor ="#58B3FF" > A</Letter > <Letter bgcolor ="#FF605F" > E</Letter > <Letter bgcolor ="#FFD52E" > I</Letter > <Letter bgcolor ="#49DD8E" > O</Letter > <Letter bgcolor ="#AE99FF" > U</Letter > </div > , destination );
Making the Background Color Customizable ReactDOM.render( <div > <Letter bgcolor ="#58B3FF" > A</Letter > <Letter bgcolor ="#FF605F" > E</Letter > <Letter bgcolor ="#FFD52E" > I</Letter > <Letter bgcolor ="#49DD8E" > O</Letter > <Letter bgcolor ="#AE99FF" > U</Letter > </div > , destination );
var letterStyle = { padding : 10 , margin : 10 , backgroundColor : this .props.bgcolor, color : "#333" , display : "inline-block" , fontFamily : "monospace" , fontSize : 32 , textAlign : "center" };
React allow for composability . You can combine components to create more complex components.
In this tutorial, we will look at what all of this means. More specifically, we will look at two things:
The boring technical stuff that you need to know.
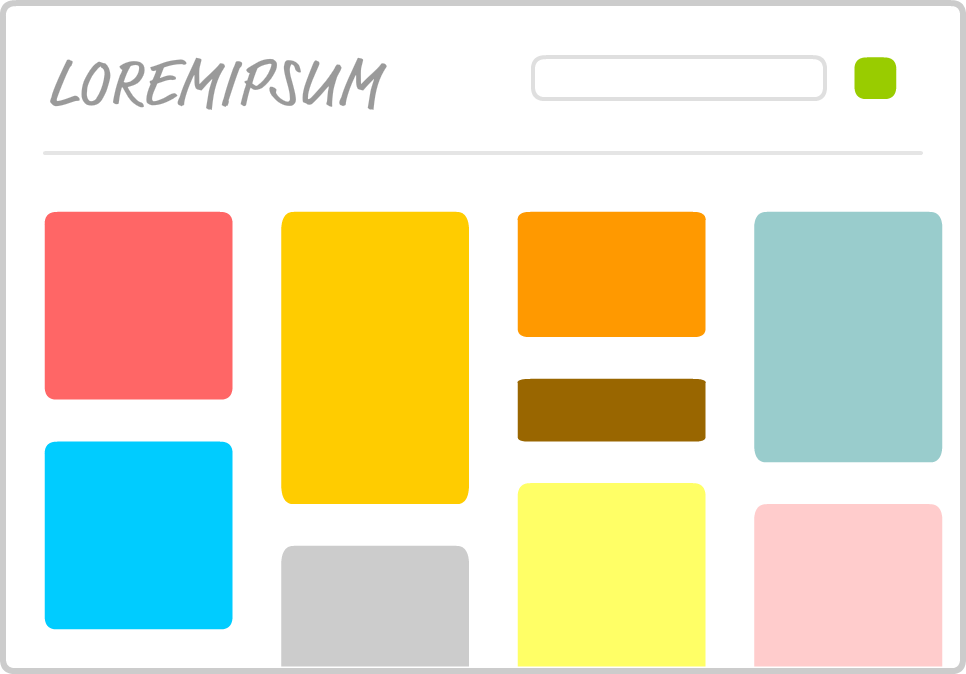
The boring stuff you need to know about how to identify components when you look at a bunch of visual elements.
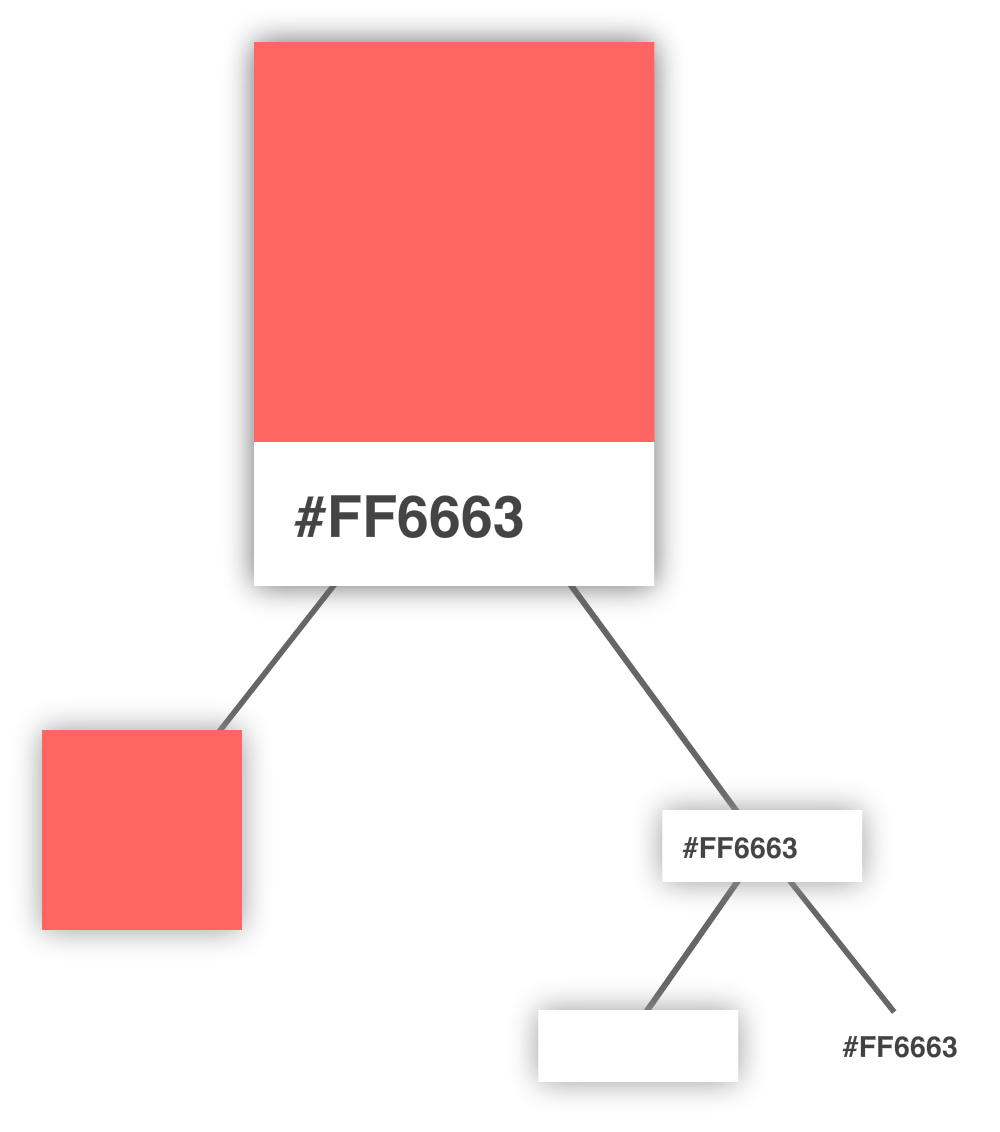
class Square extends React .Component render ( let squareStyle = { height : 150 , backgroundColor : this .props.color }; return <div style ={squareStyle} /> } } class Label extends React .Component render ( let labelStyle = { fontFamily : "sans-serif" , fontWeight : "bold" , padding :13 , margin :0 }; return <div style ={labelStyle} > {this.props.color}</div > } } class Card extends React .Component render ( let cardStyle = { height : 200 , width : 150 , padding : 0 , backgroundColor : "#fff" , WebkitFilter : "drop-shadow(0px 0px 5px #666)" , filter : "drop-shadow(0px 0px 5px #666)" }; return ( <div style ={cardStyle} > <Square color ={this.props.color}/ > <Label color ={this.props.color}/ > </div > ); } } ReactDOM.render( <div > <Card color ="#FF6663" /> <Card color ="#FFf666" /> <Card color ="#FF9999" /> <Card color ="#ddeeff" /> </div > , document .getElementById("container" ) );
What Happens with JSX? JSX Quirks to Remember Evaluating Expressions class Stuff extends React .Component render ( return ( <h1 > Boring static content!</h1 > ); } };
class Stuff extends React .Component render ( return ( <h1 > Boring {Math.random() * 100} content!</h1 > ); } };
Returning Multiple Elements In a lot of our examples, we’ve always returned one top-level element (often a div) that then had many other elements under it. You aren’t technically limited to following that pattern. You can actually return multiple elements. There are two ways you can do that.
One way is by using an array-like syntax:
class Stuff extends React .Component render ( return ( [ <p > I am</p > <p > returning a list</p > <p > of things!</p > ] ); } };
class Stuff extends React .Component render ( return ( [ <p key ="1" > I am</p > <p key ="2" > returning a list</p > <p key ="3" > of things!</p > ] ); } };
How will you know whether you need to add the key attribute or not? React will tell you! You will see a message similar to to following printed to your Dev Tools Console:
Warning: Each child in an array or iterator should have a unique “key” prop .
Besides the array-like approach, you have another (arguably better!) way of returning multiple elements. This involves something known as fragments. The way you use it looks as follows:
class Stuff extends React .Component render ( return ( <React.Fragment > <p > I am</p > <p > returning a list</p > <p > of things!</p > </React.Fragment > ); } };
You Can’t Specify CSS Inline style in HTML:
<div style ="font-family:Arial;font-size:24px" > <p > Blah!</p > </div >
style in JSX :
class Letter extends React .Component render ( var letterStyle = { padding : 10 , margin : 10 , backgroundColor : this .props.bgcolor, color : "#333" , display : "inline-block" , fontFamily : "monospace" , fontSize : "32" , textAlign : "center" }; return ( <div style ={letterStyle} > {this.props.children} </div > ); } }
ReactDOM.render( <div className ="slideIn" > <p className ="emphasis" > Gabagool!</p > {/* I am a child comment */} <Label /> </div > , document .querySelector("#container" ) );
ReactDOM.render( <div className ="slideIn" > <p className ="emphasis" > Gabagool!</p > <Label /* This comment goes across multiple lines */ className ="colorCard" // end of line /> </div > , document .querySelector("#container" ) );
Capitalization, HTML Elements, and Components Your JSX Can Be Anywhere var swatchComponent = <Swatch color ="#2F004F" > </Swatch > ReactDOM.render( <div > {swatchComponent} </div > , document .querySelector("#container" ) );
<script type="text/babel" > class LightningCounter extends React .Component constructor (props,context ) super (props,context); this .state={ stricks :0 }; this .timerTick = this .timerTick.bind(this ) } componentDidMount ( setInterval (this .timerTick,1000 ); } timerTick ( this .setState({ stricks : this .state.stricks + 1 }); } render ( var strickStyle = { color :"#66ffff" , fontSize :50 } return ( <h1 style ={strickStyle} > {this.state.stricks}</h1 > ); } } class LightningCounterDisplay extends React .Component render ( var divStyle = { width : 250 , textAlign : "center" , backgroundColor : "black" , padding : 40 , fontFamily : "sans-serif" , color : "#999" , borderRadius : 10 }; return ( <div style ={divStyle} > <LightningCounter /> </div > ); } } ReactDOM.render( <LightningCounterDisplay /> document .querySelector("#container" ) ); </script>

